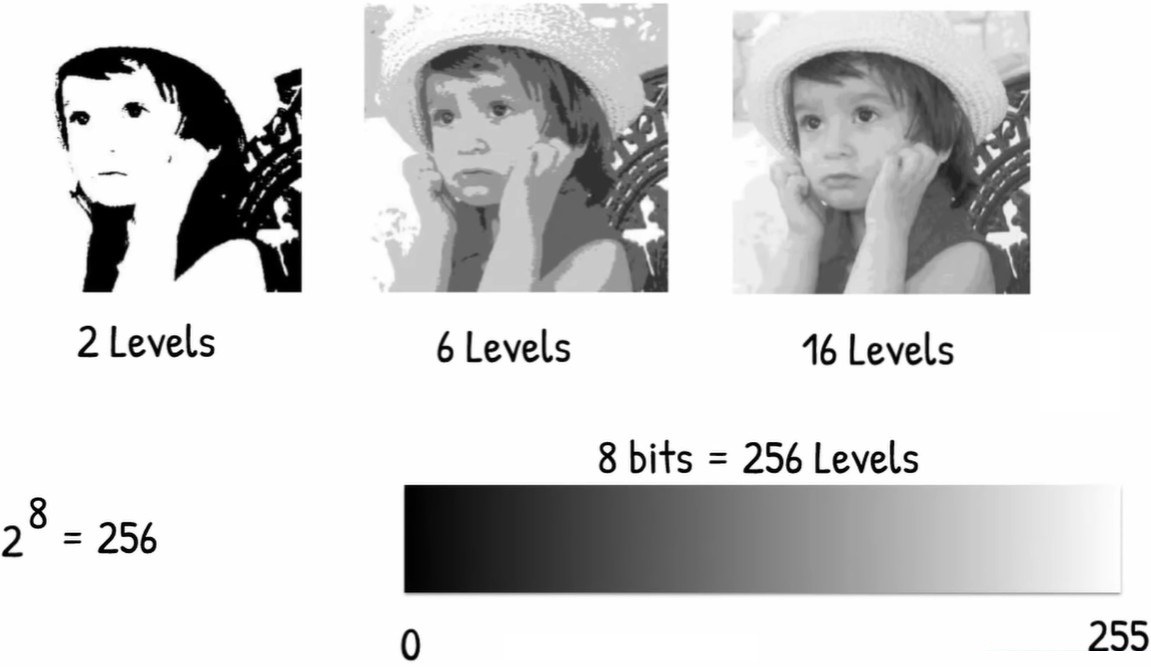
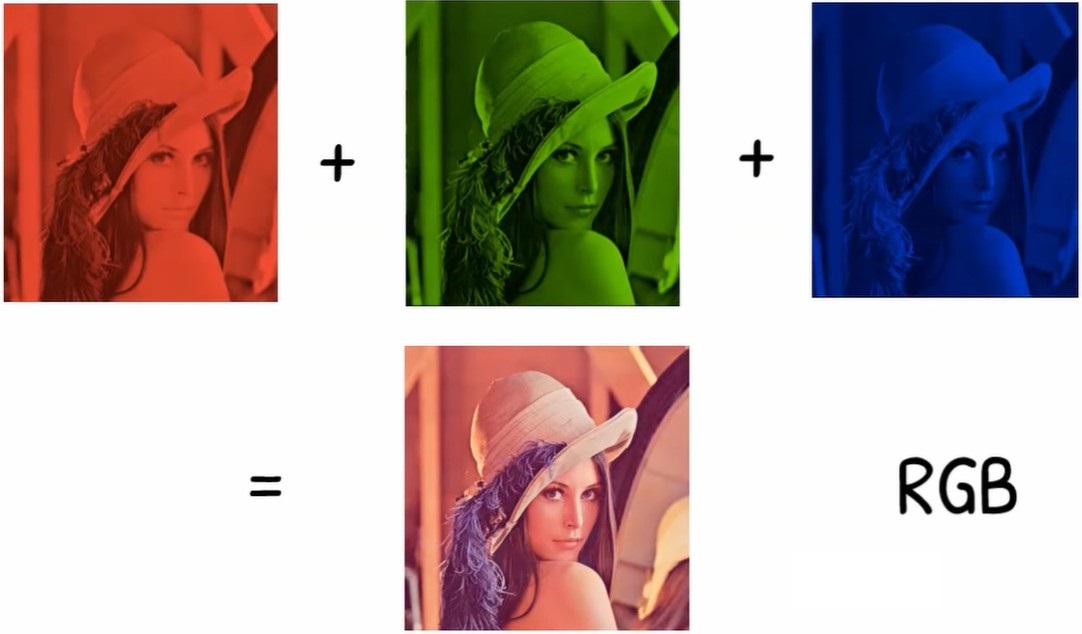
1
2
3
4
5
6
7
8
9
10
11
12
13
14
15
16
17
18
19
20
21
22
23
24
25
26
27
28
29
30
31
32
33
34
35
36
37
38
39
40
41
42
43
44
45
46
47
48
49
50
51
52
53
54
55
56
57
58
59
60
61
62
63
64
65
66
67
68
69
70
71
72
73
|
import cv2 as cv
import numpy as np
def empty(a):
pass
def stackImages(scale,imgArray):
rows = len(imgArray)
cols = len(imgArray[0])
rowsAvailable = isinstance(imgArray[0], list)
width = imgArray[0][0].shape[1]
height = imgArray[0][0].shape[0]
if rowsAvailable:
for x in range ( 0, rows):
for y in range(0, cols):
if imgArray[x][y].shape[:2] == imgArray[0][0].shape [:2]:
imgArray[x][y] = cv.resize(imgArray[x][y], (0, 0), None, scale, scale)
else:
imgArray[x][y] = cv.resize(imgArray[x][y], (imgArray[0][0].shape[1], imgArray[0][0].shape[0]), None, scale, scale)
if len(imgArray[x][y].shape) == 2: imgArray[x][y]= cv.cvtColor( imgArray[x][y], cv.COLOR_GRAY2BGR)
imageBlank = np.zeros((height, width, 3), np.uint8)
hor = [imageBlank]*rows
hor_con = [imageBlank]*rows
for x in range(0, rows):
hor[x] = np.hstack(imgArray[x])
ver = np.vstack(hor)
else:
for x in range(0, rows):
if imgArray[x].shape[:2] == imgArray[0].shape[:2]:
imgArray[x] = cv.resize(imgArray[x], (0, 0), None, scale, scale)
else:
imgArray[x] = cv.resize(imgArray[x], (imgArray[0].shape[1], imgArray[0].shape[0]), None,scale, scale)
if len(imgArray[x].shape) == 2: imgArray[x] = cv.cvtColor(imgArray[x], cv.COLOR_GRAY2BGR)
hor= np.hstack(imgArray)
ver = hor
return ver
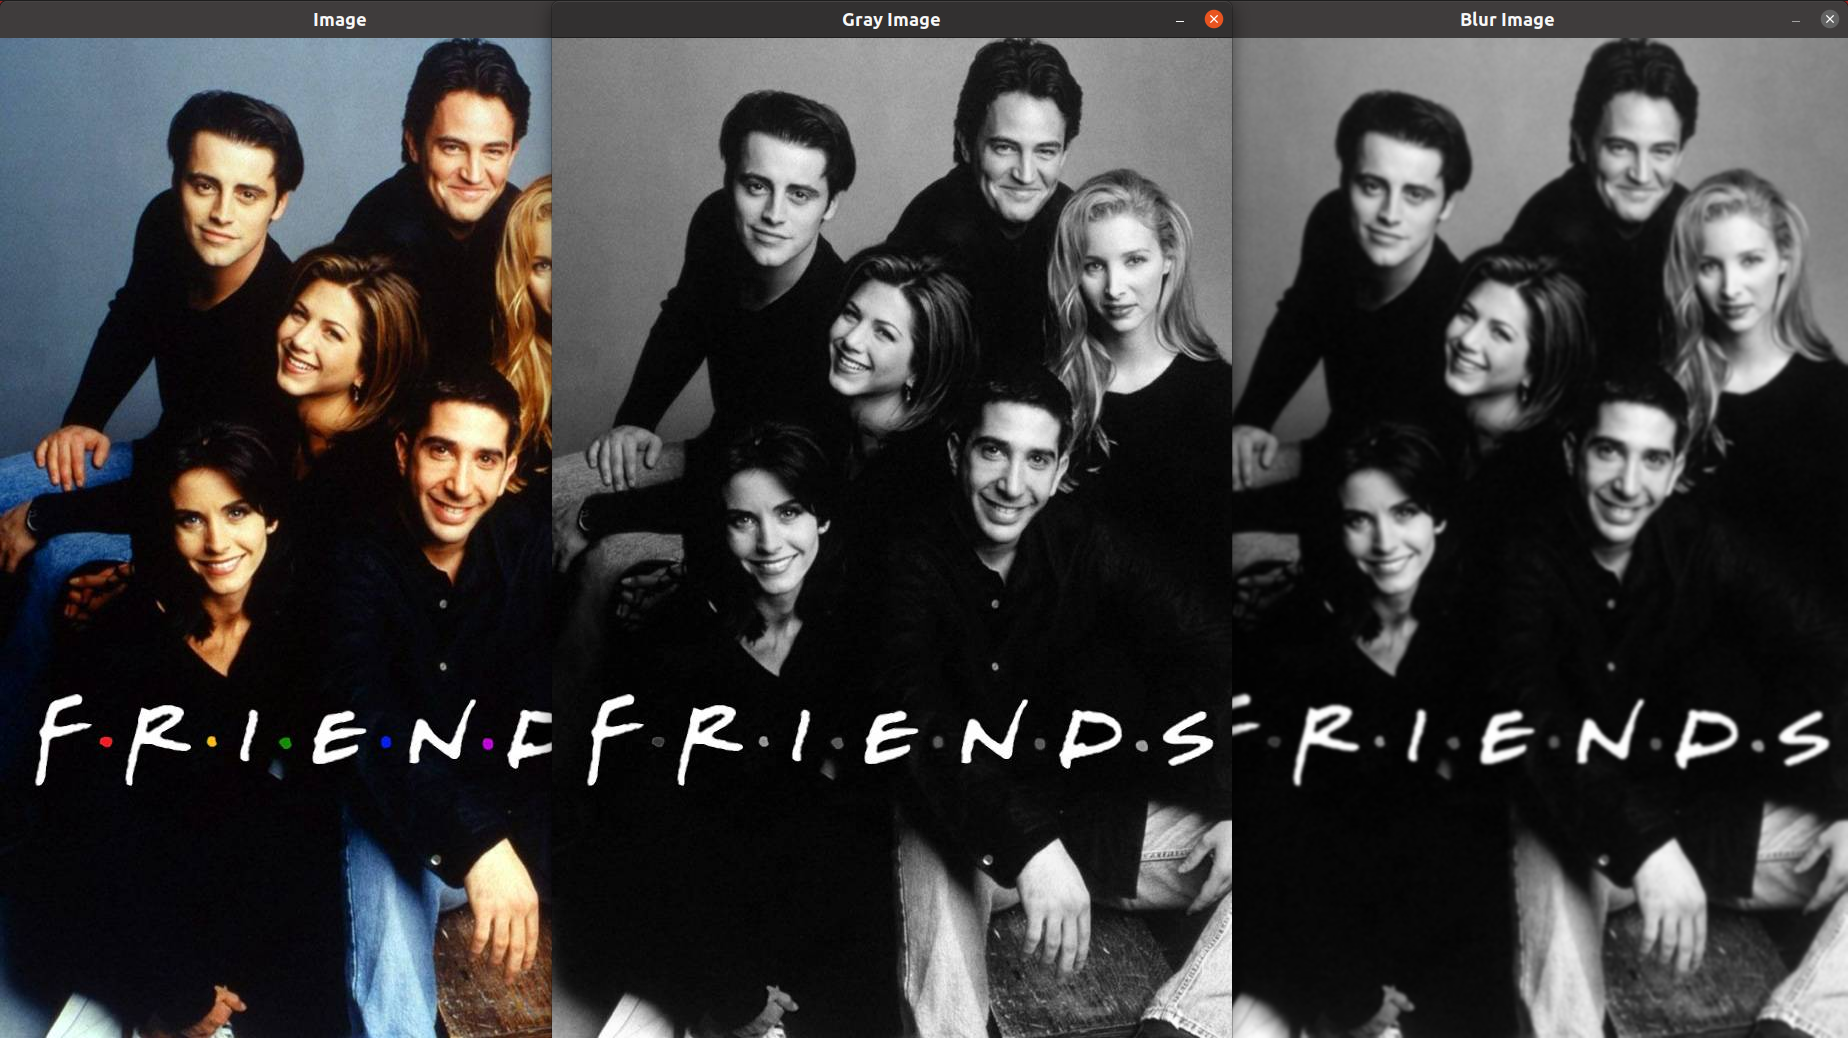
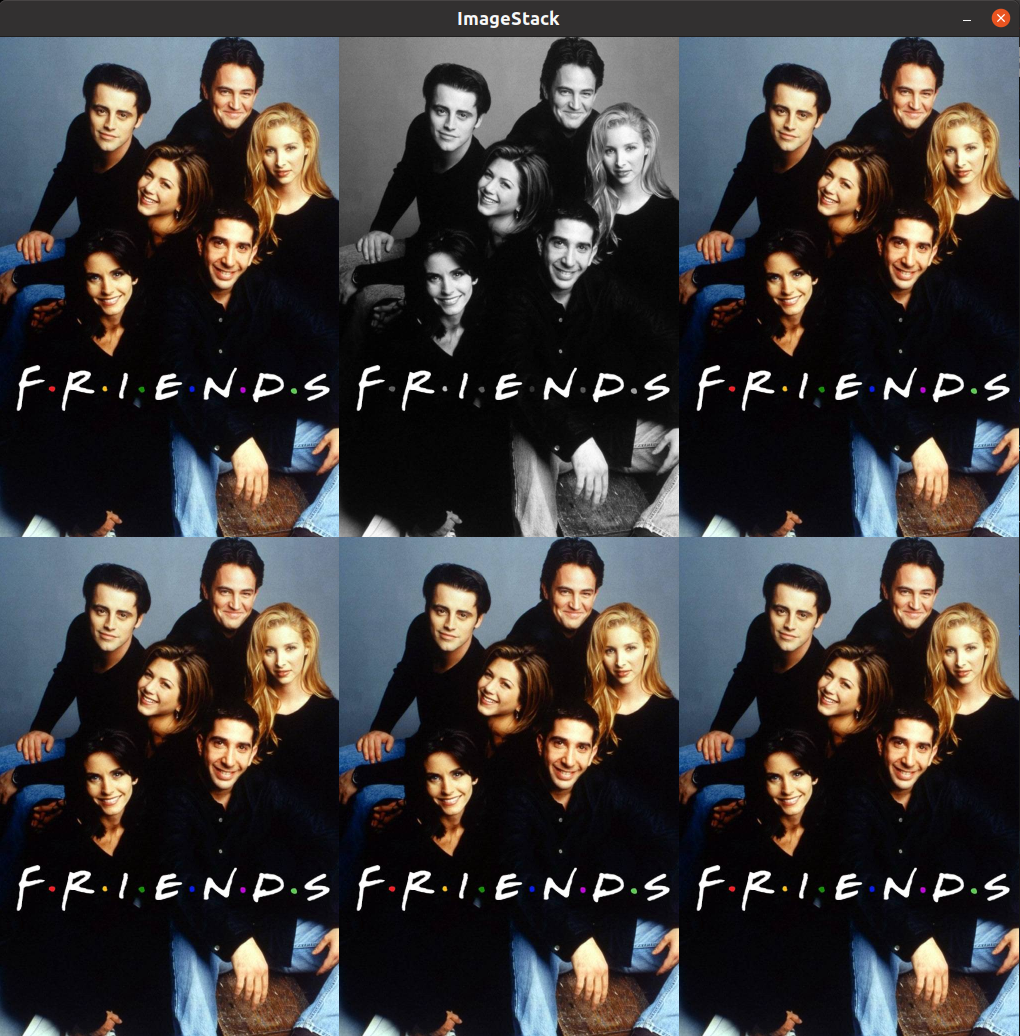
path = 'friends.jpg'
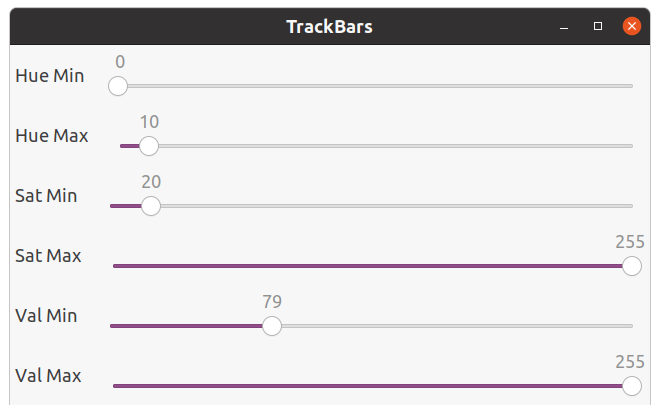
cv.namedWindow('TrackBars')
cv.resizeWindow('TrackBars', 640, 240)
cv.createTrackbar('Hue Min', 'TrackBars', 0, 179, empty)
cv.createTrackbar('Hue Max', 'TrackBars', 28, 179, empty)
cv.createTrackbar('Sat Min', 'TrackBars', 3, 355, empty)
cv.createTrackbar('Sat Max', 'TrackBars', 255, 255, empty)
cv.createTrackbar('Val Min', 'TrackBars', 143, 255, empty)
cv.createTrackbar('Val Max', 'TrackBars', 255, 255, empty)
img = cv.imread(path)
while True:
imgHSV = cv.cvtColor(img, cv.COLOR_BGR2HSV)
h_min = cv.getTrackbarPos('Hue Min', 'TrackBars')
h_max = cv.getTrackbarPos('Hue Max', 'TrackBars')
s_min = cv.getTrackbarPos('Sat Min', 'TrackBars')
s_max = cv.getTrackbarPos('Sat Max', 'TrackBars')
v_min = cv.getTrackbarPos('Val Min', 'TrackBars')
v_max = cv.getTrackbarPos('Val Max', 'TrackBars')
print(h_min, h_max, s_min, s_max, v_min, v_max)
lower = np.array([h_min, s_min, v_min])
upper = np.array([h_max, s_max, v_max])
mask = cv.inRange(imgHSV, lower, upper)
imgResult = cv.bitwise_and(img,img,mask=mask)
cv.imshow('Original', img)
cv.imshow('ImageHSV', imgHSV)
cv.imshow('Mask', mask)
cv.imshow('Result', imgResult)
imgStack = stackImages(0.5,([img,imgHSV],[mask,imgResult]))
cv.imshow('Stacked Images',imgStack)
cv.waitKey(1)
|